I was presented with a challenge: Create a pattern for removable ear flaps for a baby hat. The ear flaps need to be finished on both sides and not roll. They must attach securely so a baby cannot pull them off, but they need to be removable so the child can wear the hat in less chilly conditions. They should be something that can be made and attached to a hat after the hat has been completed, as an after thought even. I think I have figured it out!
For this project I started with the Kiddie Cadet hat published at
http://www.kathrynivy.com/.
***Copyright Statement: This pattern is intended for personal and private use only. Do not duplicate, copy or sell any portion of this written pattern. Please respect my livelihood. Projects completed using this pattern should not be sold. Finished projects can be requested through my Etsy site:
http://www.etsy.com/shop/evellynnsmommy ***
Materials:
3 DPN in the size used for your hat (for my example I'm using US size 7)
Darning Needle
Extra yarn from your hat project (for my example I'm using Patons Angora Bamboo in Urban Gray)
Gauge Should be the same as your hat.
Pattern Notes:
Since you are making these flaps relative to the hat you have completed, the finished sizes and number of stitches will vary. The final width of each ear flap should be 1/4 the total number of cast on stitches at the edge of the hat. (For my example the Kiddie Cadet hat for a toddler has 80 cast on stitches so my finished ear flaps will be 20 stitches across).
Abbreviations:
K: Knit
KFB: Knit the Front and Back
K2Tog: Knit two stitches together
YO: Yarn Over
On two double pointed needles using long tail cast on, cast on 6 stitches, 3 stitches per needle and join for working in the round. Leave a 10 inch tail to be used when creating ties later.
Row 1 and all Odd Rows: Knit
Row 2 and even rows until desired number of stitches are achieved: On needle 1 *KFB, K to last stitch, KFB *repeat on second needle (if you need an even number of stitches on the last increase row KFB, k remaining stitches *repeat on second needle)
My example shows 20 stitches per needle
Knit 1 inch
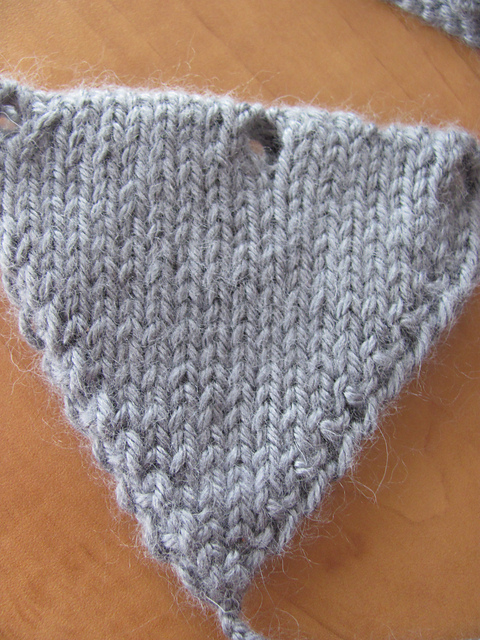
Button Holes: Row 1: On first needle K1, YO, K2Tog, K to center stitch, YO, K2tog, K until 3 stitches remain, K2tog, YO, K1 On second needle K1, YO, k2tog, k to center stitch, k2tog, YO, k until 3 stitches remain, k2tog, YO, K1
Row 2: K all stitches
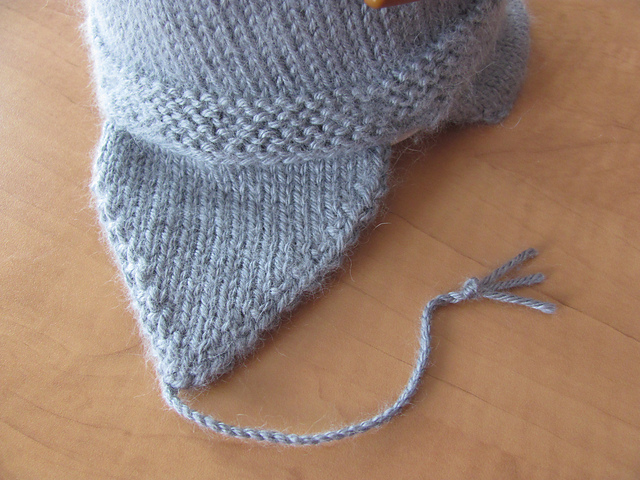
Cut yarn at a length 4x the width of your ear flap. Graft stitches together with Kitchner stitch. Weave in end.
Cut a 20" piece of yarn and thread through the bottom of the ear flap. Braid together with cast on tail. Tie ends so ties measure 6 inches from bottom of ear flap.
Buttons (6): Use store bought buttons or Create buttons with some simple crochet stitches and a crochet hook several sizes smaller than the yarn manufacturer recommends:
Tie a slip knot leaving a 4 inch tail
Chain 2
Single Crochet in the 2nd chain from the hook six times.
Join with a slip stitch. Cut yarn leaving a 4 inch tail.
Slip buttons through the holes in the ear flaps. Pin flaps to the hat and sew buttons in place. There should be 1/8th of the total hat cast on stitches across the back between the ear flaps.